Phase 1 : The different stages of erecting a tower for antenna purposes
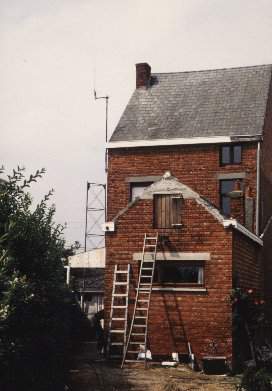
These photographs were taken soon after the purchase of the house, so it was still in the original state as I bought it. Later on, I spent most of my free time to renovate it entirely.
|
 |
|
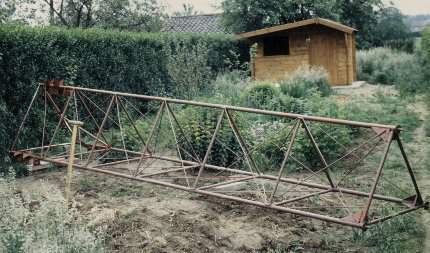
The tower will consist of four subsequent elements, each with a length of 6 meter. |
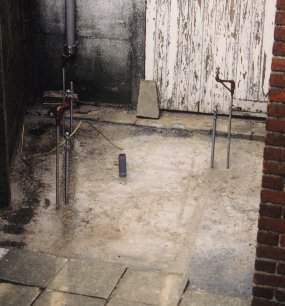
The metal construction intended to be encapsulated in the concrete. |
|
 |
 |
|
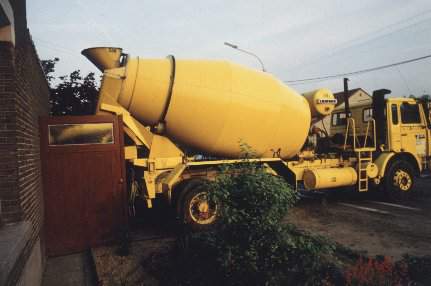
Early in the morning several tons of concrete fill the pit through the garage of the house ... |
Three weeks are required to let the concrete dry and harden. |
|
 |
 |
|
The lowest part has been mounted. Notice the temporary omnidirectional 144 MHz antenna. |
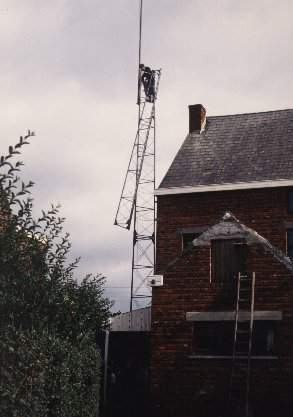
One by one, all elements are assembled. |
|
 |
 |
|
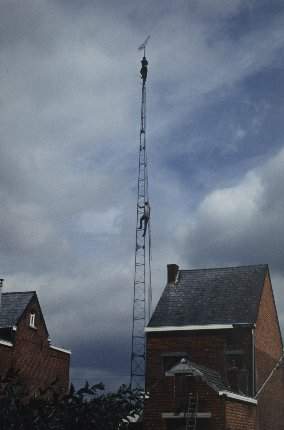
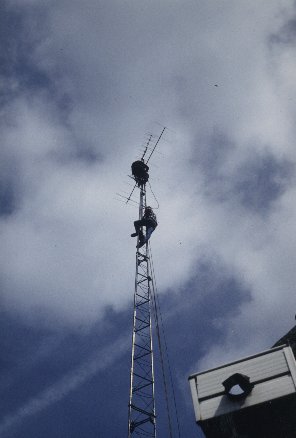
After mounting the 64 elements beam for 430 MHz on the top, the 9 element for 144 MHz is brought up. Notice the badly changing weather on July 9, 1993 ... |
Just in time before the rain, the 9 element beam is put into place beneath the 430 MHz antenna. Everything will be ready soon to be tested! |
Phase 1 : Erection of a tower with a height of 24 meter and mounting of the VHF and UHF beams and omnidirectional antennas
Phase 2 : Removal of the upper part of the tower and mounting of a 3 element HF beam for 10, 15 and 20 meter
Phase 3 : Replacing the 3 element beam by a 7 element Cushcraft beam for 10, 15 and 20 meter